Life is indeed sweeter in Bacolod! Aside from the delectable treats, the “City of Smiles” is known as one of the most livable cities in the Philippines. It has the charm of the countryside with the flair of metropolitan living. On top of these, imagine being surrounded by tourist marvels that are not only attracting locals but foreigners as well.
Many opt for a house and lot in Bacolod and if you’re a homeowner in the city, wouldn’t you attest to its beauty? How about we match the rustic allure of the metropolis and make your interior walls come to life? Let’s make wall art with the use of…popsicle sticks!
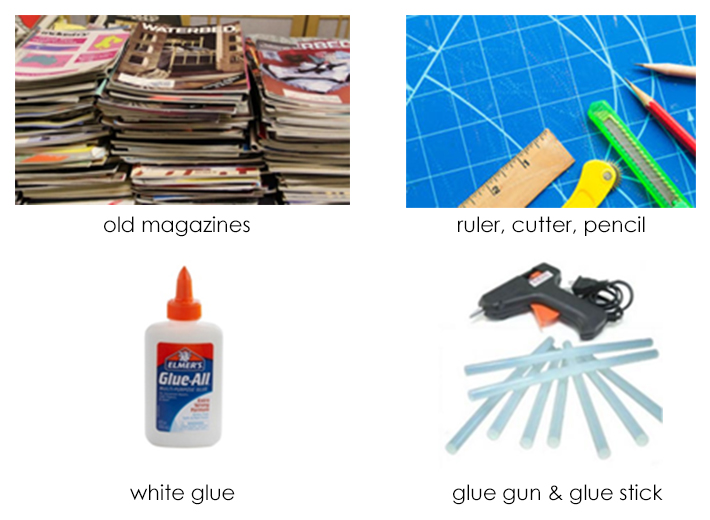
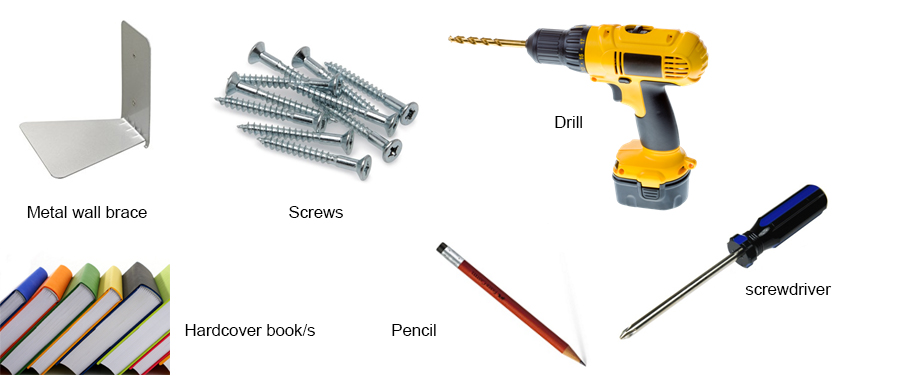
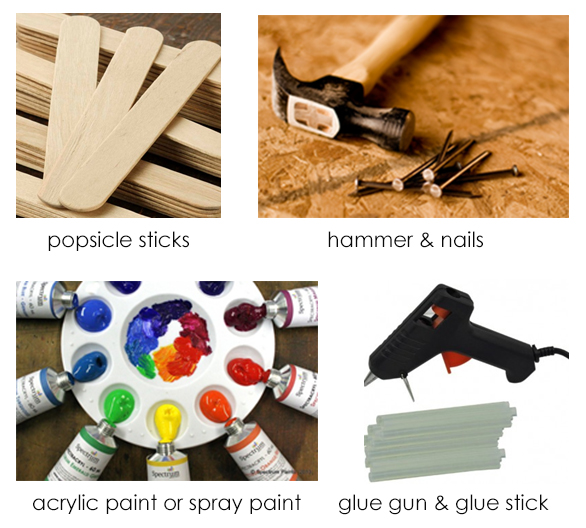
Prepare these materials first:
- popsicle sticks
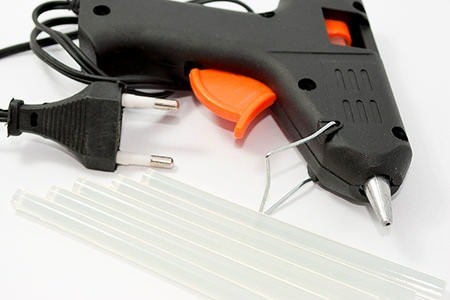
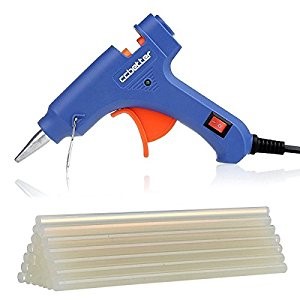
- glue gun & glue stick
- acrylic paint or spray paint
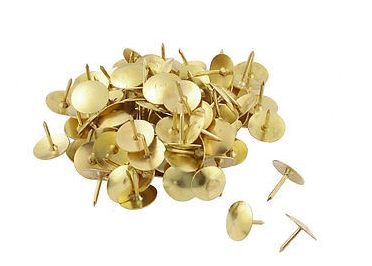
- hammer & nails
Method:
Step 1 Make a hexagonal base using your popsicle sticks and secure them with hot glue.
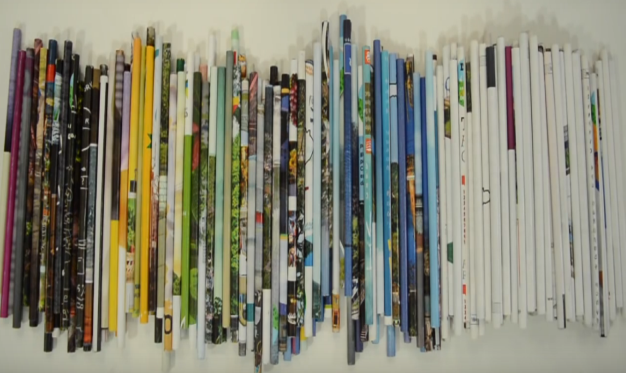
Step 2 Start stacking the popsicle sticks until you consume 100 sticks (or more depending on your desired height). It should look like this:

Step 3 Let the stack dry. Repeat the process if you want to make more. You can also make different designs!
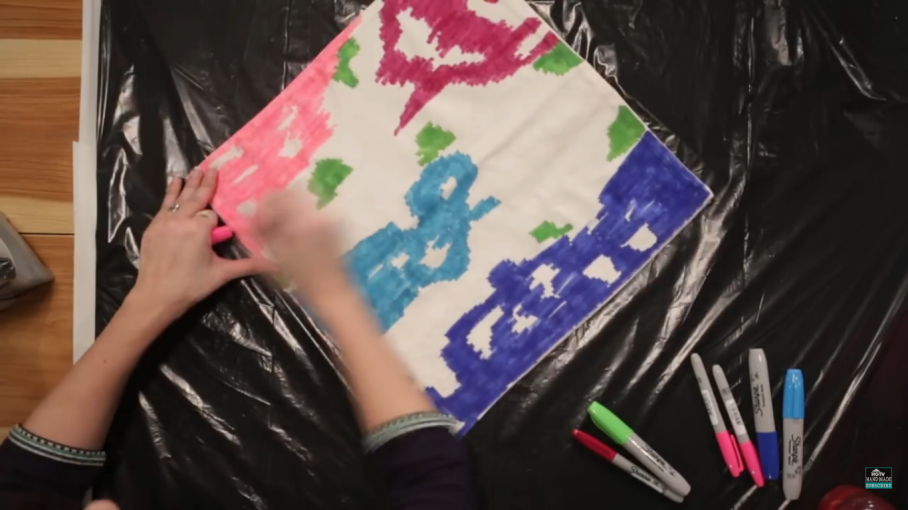
Step 4 Now let’s get creative. Get your paint and start putting designs on your DIY shelf. Mix and match. If you have neutral paint colors on your wall in your house in Bacolod, you can put backdrops with gift wrappers.
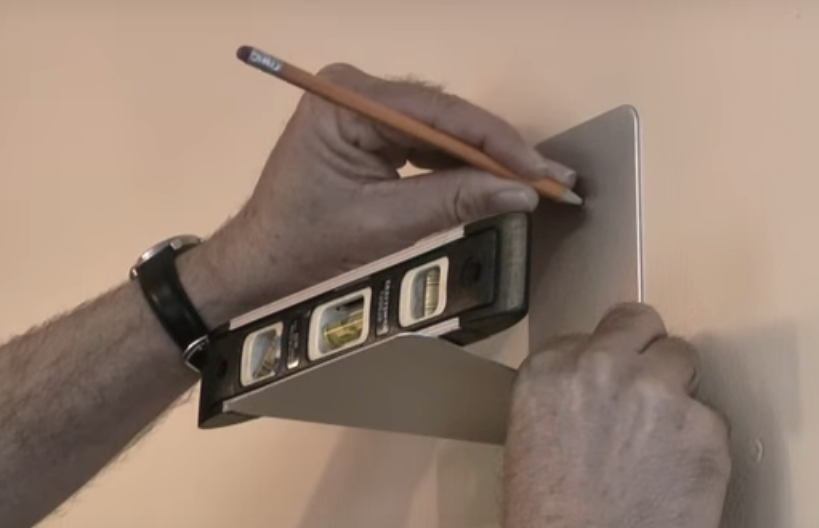
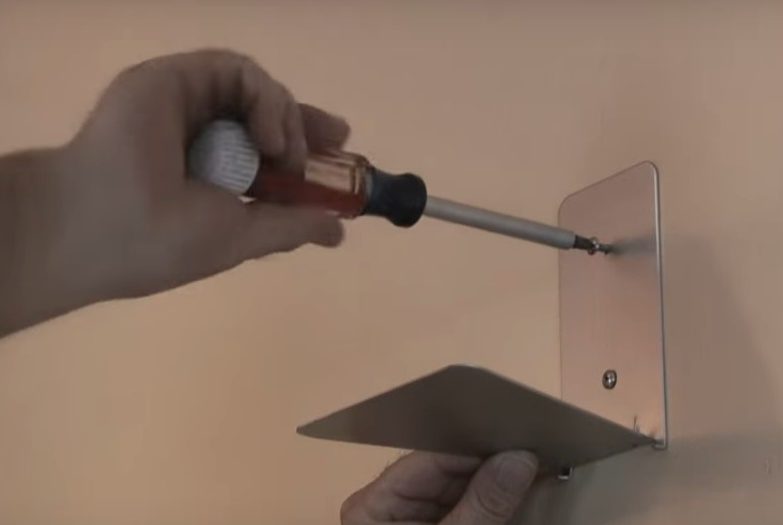
Step 5 Get your hammer and pound a nail on your desired wall. Make sure that the wall is not at arm’s length so it will not get knocked over. Start hanging your shelves on the wall. To make it more secure, put two additional nails on the upper and bottom joints.
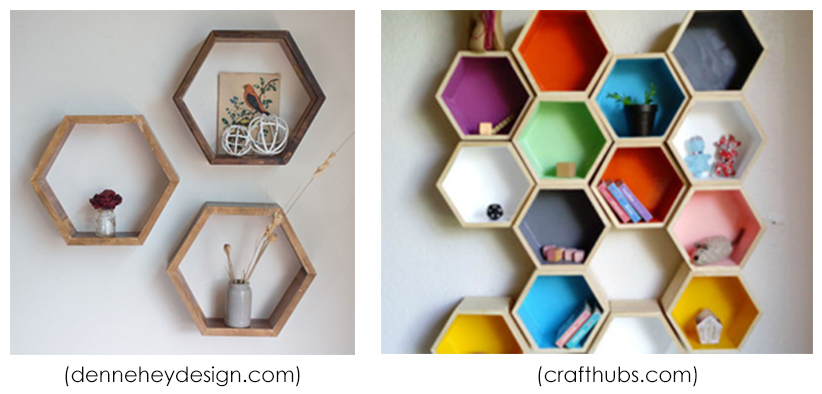
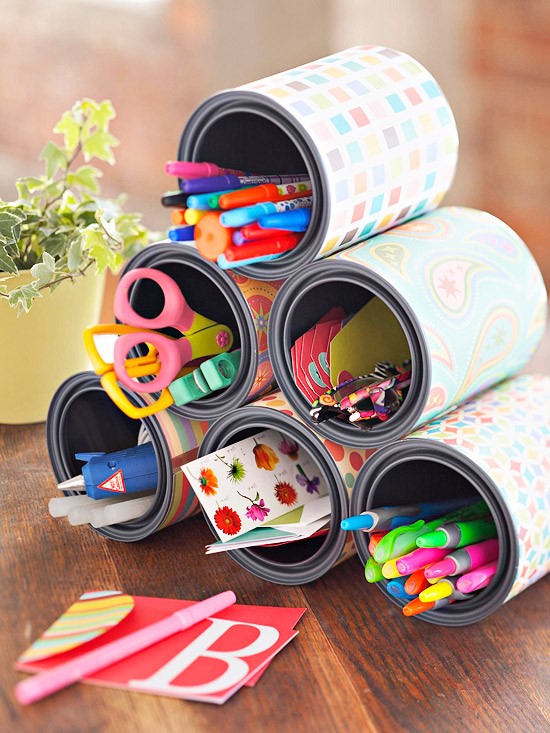
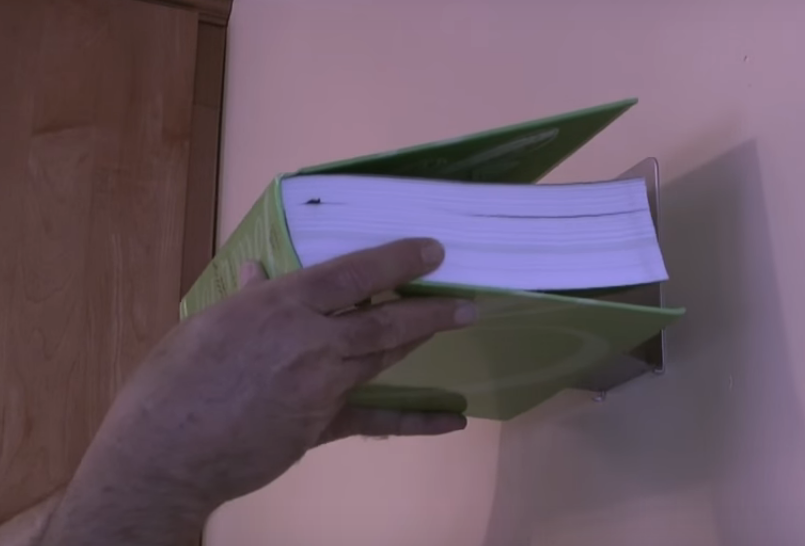
Ta-da! You can now put small vases, books, or even photo frames inside your DIY popsicle shelf.
Use this video as your step-by-step guide:
Who would’ve thought that this modish DIY is absolutely easy to construct and would only cost you several minutes to create? Your house and lot in Bacolod would sure be a tad snazzy with this small piece of artsy furniture.